Make a Zebra label ZebraDesigner 2
When you did not get a label template from your supplier follow these steps to make your label template for the Zebra printer. If you have a problem with the ZebraDesigner V2 software please contact Zebra support.
Go to the zebra website (this link opens in a new window) and download the ZebraDesigner. If you have not installed the Zebra printer download and install the latest version of the Zebra printer software before continuing with installing ZebraDesigner.
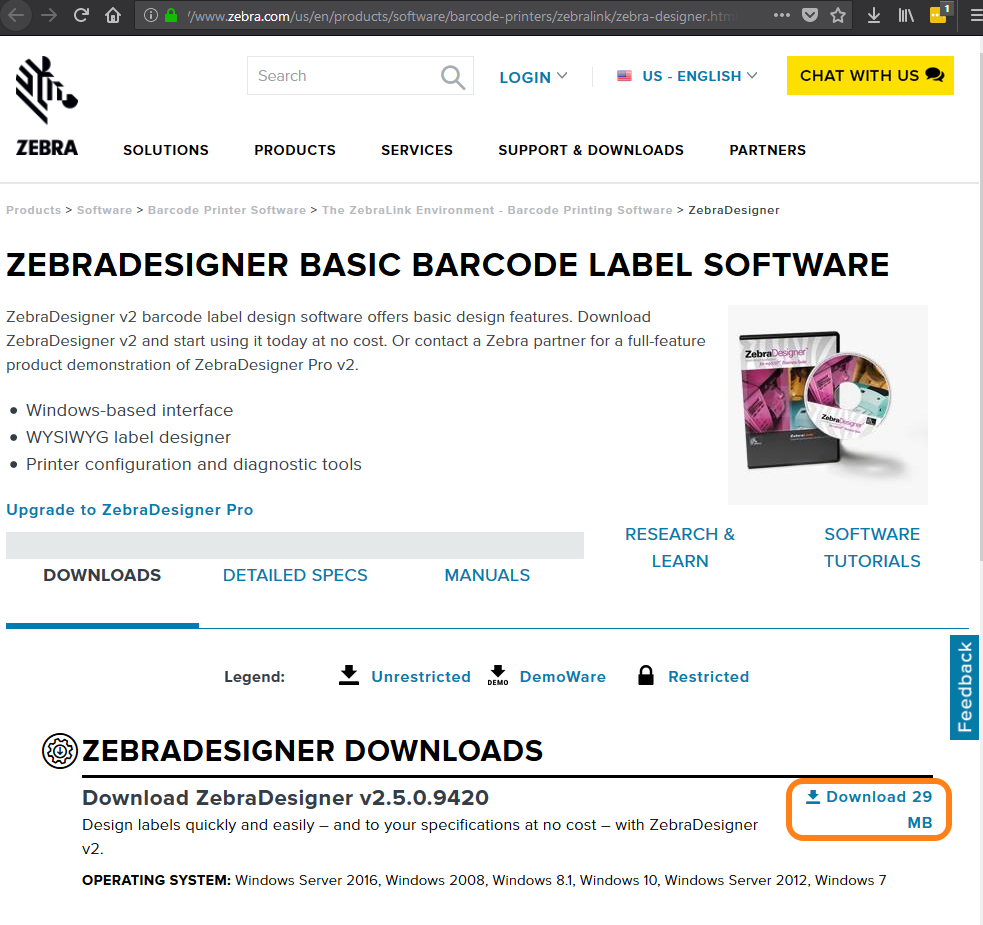
Install the program and open it. When the program is running choose Create a new label and click Next >

In the new pop-up choose your printer and click Next >. In the next screen choose Stock type: <NONE> and click Next >

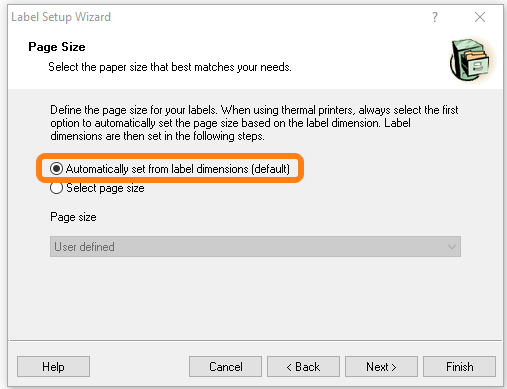
Then in Page Size choose Automatically set from label dimensions (default)
In the Label Layout uncheck the checkbox Rotated, this is so you have a good preview in eLabJournal, if your preview in eLabJournal is upside down it is because of this setting.

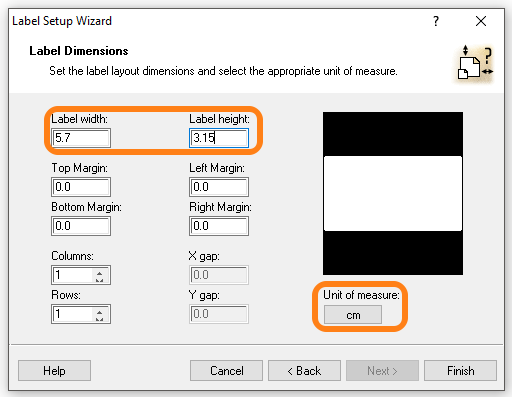
In ‘Label Dimensions’ change the Label width and height according to your labels. In this example we use the Zebra 2000D / 1000T labels. The ‘Unit of measure’ can be changed in the lower right corner of the screen. When dimensions are set click Finish.
Now we are going to put content fields on the label. We start with the 2D barcode. Go to 2D and choose QR. This is a field, later we will connect this with the eLabJournal barcode token.

Click somewhere on the label. In the pop-up window ‘Bar Code Wizard’ select Variable bar code data and click on Next >.

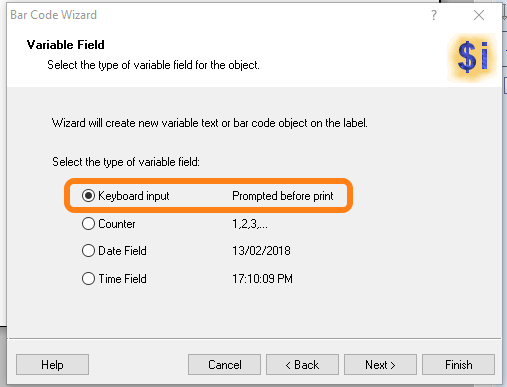
Choose Keyboard input and click Next >
Fill in Change for eLAB QR Token and set maximum number of characters on 300 and click Finish.

The QR size can be adjusted by clicking on the QR code and resize it. Adjust QR code size to your requirements (make sure that the QR code is big enough for your
scanner to read). To add sample information (e.g. sample name, type, etc.) to your label, add a text field. Click on Text
and click on your label. The ‘Text Wizard’ will pop up.

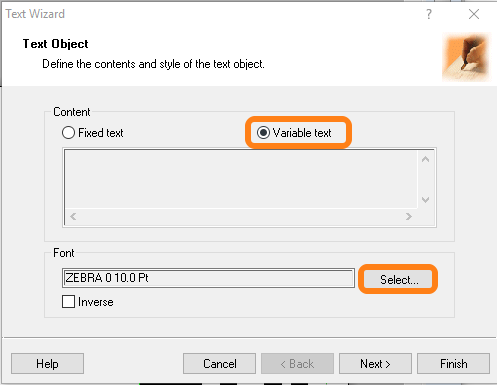
Choose Variable text and make sure the Font is set to ZEBRA 0. Font size can be adjusted if preferred. Click Next >
Choose Keyboard input Prompted before print and click Next >

Fill in Change for eLAB Token and set maximum number of characters on 45, and click Finish.

Now we have a text field on our label.

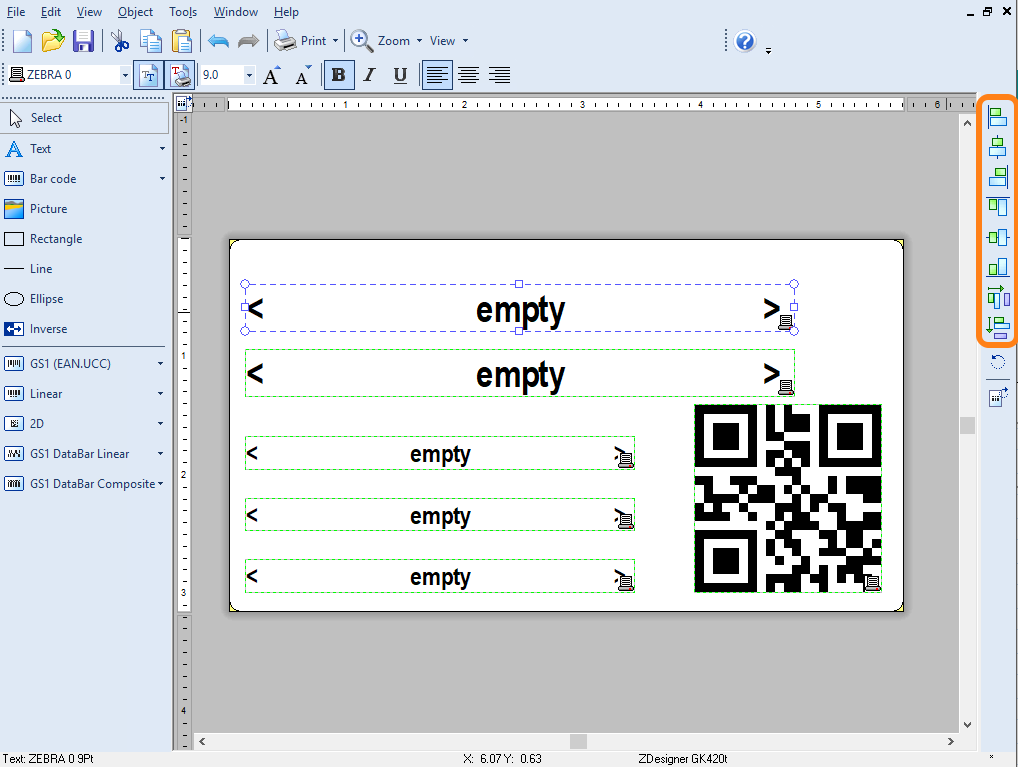
Copy past this text field if needed or make another text field and repeat the steps above. If you have multiple text fields use the buttons on the left to align them.
Go to File > Print > and type over the text in the Data initialization choose Print to file. After this click Print

Name your label and click Save

Now we have a zebra label template. Here you can see how we can add this template to eLabJournal.